Let’s Explore Bowling pin setup for beginners
Bowling looks easy, but there’s more skill to it than meets the eye. Before you even throw the ball, you need to understand how the pins are set up and why pin placement matters. As a beginner, getting a handle on basic pin setup will help you understand the game better and improve your technique. This article explains the standard bowling pin pattern and some variants for beginners so you can step up to the lane with confidence.

Pin Arrangement Basics
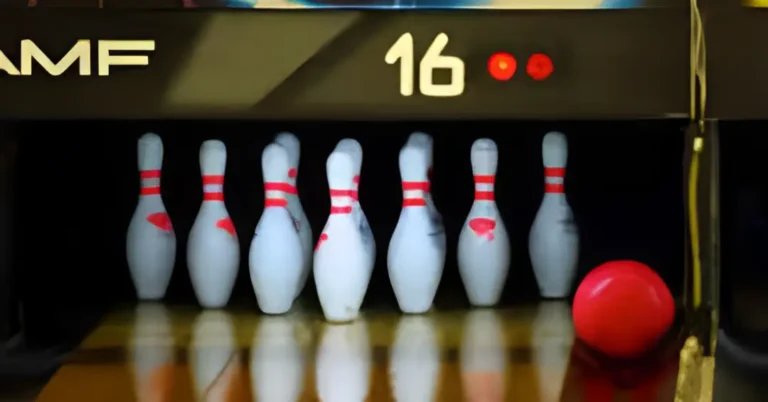
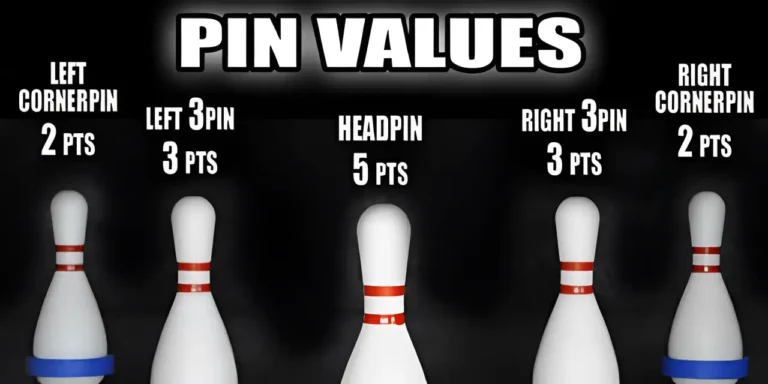
The usual bowling setup is ten pins arranged in a triangle shape at the end of the lane, with four pins making up the base, three above that, then two, then the crown pin at the top smack dab in the middle. This 4-3-2-1 pyramid pattern is standard across most recreational bowling games and leagues. The pins are uniformly spaced and symmetrical.
Sometimes the pin bowler may shift the next setup slightly off-center after you roll a ball to prevent getting into an easy groove. But you’ll always start with that balanced triangle rack of ten pins. As you get better, you’ll learn to aim for the pocket, which refers to the gap between the frontmost pin and the adjacent one. Hitting the pocket at the correct angle gives the best odds to produce a strike.
Why Does Pin Placement Matter
Pins that stand further apart give openings for your ball to miss entirely. In a tight triangle grid with no gaps, it’s almost impossible not to hit at least one pin no matter how lousy your aim and release. This is key for beginners with less control. If pins only stood one inch apart, even the worst bowler would keep knocking some down!
So you can think of tighter pin alignment as bumper rails for the bowling lane. As your capabilities improve and you graduate to more advanced setups, you lose those built-in accuracy aids. That’s why understanding pin patterns matters – easier setups guide your ball better. Don’t underestimate the difference even slightly varied placements can make.
Beginner Variations
While programs for small children may use lighter balls or ramps, the pins themselves are often set up in beginner-friendly arrangements more forgiving of errant throws. Two popular examples are the fundraising setup and mini bowling setup.
Fundraiser Style
For bowling fundraisers and carnivals, sometimes the pins are clumped together without gaps instead of fanned out evenly. This results in a denser bundle of pins rather than a cylinder. It looks almost like a bunch of standing Skittles! The ball doesn’t need as much precision to hit multiple pins when they are clumped compared to the standard pyramid layout which allows more room for complete misses.
The tightly packed fundraiser format is meant to help players of all ages and experience knock pins down more easily compared to typical league rules setups. The more pins you hit, the more likely participants will enjoy themselves and continue putting down cash for extra rolls!
Mini Bowling Pin Arrangement
Some bowling alleys also offer mini-bowling setups with squat, smaller pins often set up with a straight line instead of a triangle rack. This setup is popular for very young kids just learning to roll balls down the alley. Seven or eight smaller pins may stand evenly across the lane, without gaps or spaces between them. They look like a wall of targets.
Again, this format makes it simpler for kids to hit multiple pins and enjoy success even with minimal skills. As abilities improve, coaches transition children to the standard pin array. But starting simple builds confidence, allowing young players to grasp scoring concept basics before attempting traditional pyramid pin targeting.
In Conclusion
Now you understand why bowling setup matters for beginners wanting to get that ball rolling! Keep the key rules of pin patterns in mind:
Knowing typical arrangements and beginner placements sets you on the path to being a knowledgeable amateur bowler. Soon you’ll graduate from entry-level setups and see Variants as an exciting challenge!


